Setting up a new web host environment for your website is a painstaking nerve and trust me when I say, every entrepreneur and developer has been through that. Especially, if your business needs the isolated setup very often, it is time you familiarize yourself with the WordPress container technology. The best ever known container platform, Docker is your solution to a stress-free process. But before we talk about the Docker compose, I believe you have doubts about WordPress. How did I possibly assume that your website might need WordPress?
All your answers lie in the recent statistics mentioned below:
- Did You Know? Over 75 million websites of all types and sizes post new content every second on WordPress.
- Statistics from W3Techs, state that WordPress gives access to 60.8% of all the websites that use a CMS(Content Management System), closely followed by Drupal and Magento by 4.9% and 2.8% respectively.
- On a daily average, 500+ sites are built on WordPress while only 50-60 sites go with Squarespace and Shopify.
- And If you ever have doubts about the popularity of WordPress, you must know that there are 37 million global searches made only for the term “WordPress” on a monthly basis.
WordPress vs The Competition
Your business needs a website, the go-to place for your audience, including all the details about the company, products, and services. However, in today’s rapidly moving world, who has time to decide the themes, designs, and functionalities. It is ultimately a time-consuming task and can require months to turn into reality. This is the primary reason why thousands of innovative enterprises choose WordPress.
This content management platform was established in 2003, and since then, it has been doing a tremendous job in the web development industry. WordPress alone rules 35% of the websites and traffic on the internet. No doubts, there are several other platforms and channels for website development. Still, no other medium stands a chance against WordPress in the digital world when it comes to efficiency and diversity.
Now that we know why WordPress is highly recommended let us dive into the problematic aspect of your website integration. As I mentioned earlier, installing one tool can save you from the months of hassle and worries.
When you run your website on WordPress, it typically involves installing a LEMP ( Linux, Nginx, MySQL, and PHP) or a LAMP ( Linux, Apache, MySQL and PHP) stack which is a labour-intensive job. However, when you use tools such as Docker and Docker Compose, the process of setting up your stack simplifies. We need to understand this in a simple language. Let us first talk about what Docker is, and how does it function for your WordPress?
What is Docker?
Docker is basically an open-source software that creates an isolated environment to run an application. Therefore you can test, run, and develop multiple applications on the same system.
Unlike virtual systems, each container would not require its own OS, which is the best part of Docker. This machine’s workload ultimately becomes far more lightweight, and a single server can run various containers simultaneously. This is how it saves your efforts and time.
Think of it as a kit with all your required databases and all you need to do is employ the kit in your system instead of installing each database separately. Docker has no barrier for any packaging system, frameworks and therefore can be operated from anywhere, even with a small PC or a high-end server. For this reason, Docker is highly useful to WordPress developers.
WordPress run test usually takes up a lot of system resources, but with Docker, you can test your system in a minimal environment without wasting memory and server space. And did I mention that you can deploy back end services, web apps, and databases regardless of their particular stack?
In this article, we will learn to dockerize the latest WordPress package with the help of PHP-FPM and Nginx web server. For maximum performance and speed, we will take Ubuntu 20.04 as our system.
How to install a Docker compose package?
A docker composer runs multiple containers as a single service. For Instance, If you have an application that requires Nginx and MySQL, you only need to create one file that could start both the containers as a service without the need to start each one separately.
Let us see the tutorial for the installation process.
Step 1 Docker Installation:
1.1 If you are starting from scratch, install the latest updated Ubuntu repository before you begin. To do so, use the command:
sudo apt-get update
sudo apt-get upgrade
1.2 Further, you can manually install Docker and Docker compose contained in the Ubuntu repository with the apt command. To do so, use the command:
sudo apt-get install-y docker.io
1.3 After the installation is done, you can add Docker, and it will automatically start working at the boot time.
Then put the command,
systemctl start docker
systemctl enable docker
1.4 To check if the Docker is installed, use the command below
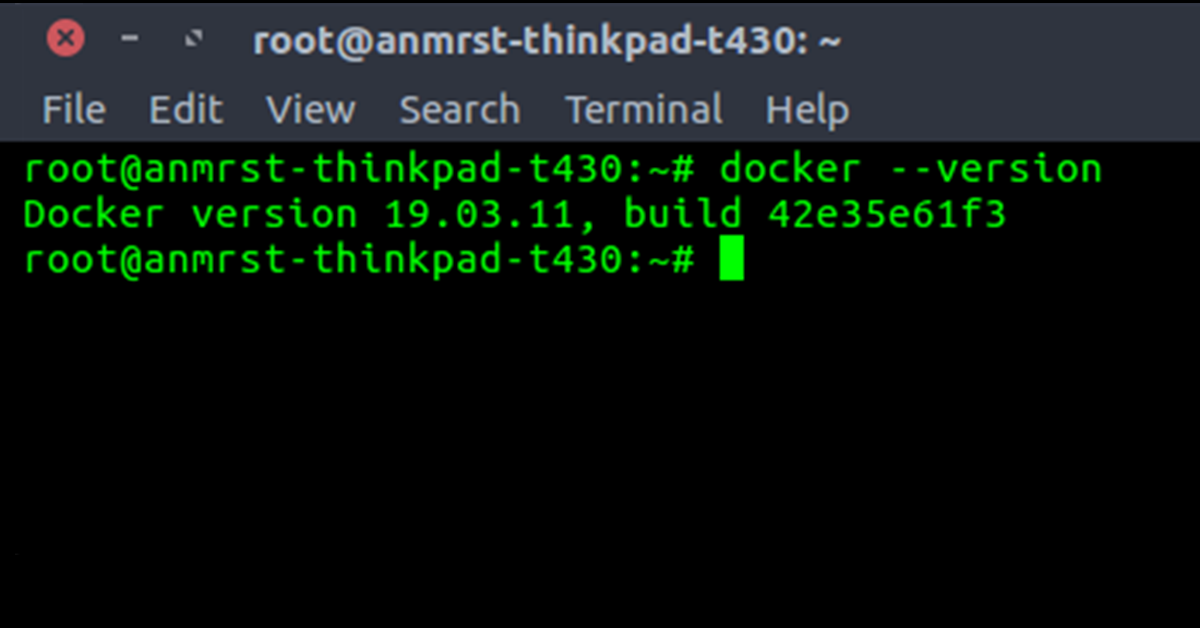
Docker version – 19.03.8
Step 2: Installation of Docker compose
2.1 The Ubuntu 20.04 repository will already have the Docker compose package but to check for the latest version, you can visit the Compose repository release page on GitHub. Click on the newest version available and download the file to your repository to execute it.
2.2 You can use curl to download the compose package into the usr/ local/bin directory.
Take command,
sudo curl-L
“http://github.com/docker/compose/releases/download/1.25.5/docker-compose-$(uname-s) -$(uname -m)” -o /usr/local/bin/docker -compose
2.3 After the downloading is complete, allow the file by giving executable permissions.
Use the command
sudo chmod +x /usr/ local/bin/docker-compose
2.4 To verify this installation, you need to print the compose version, execute this command
Docker-compose -version
2.5 The system will then show this output,
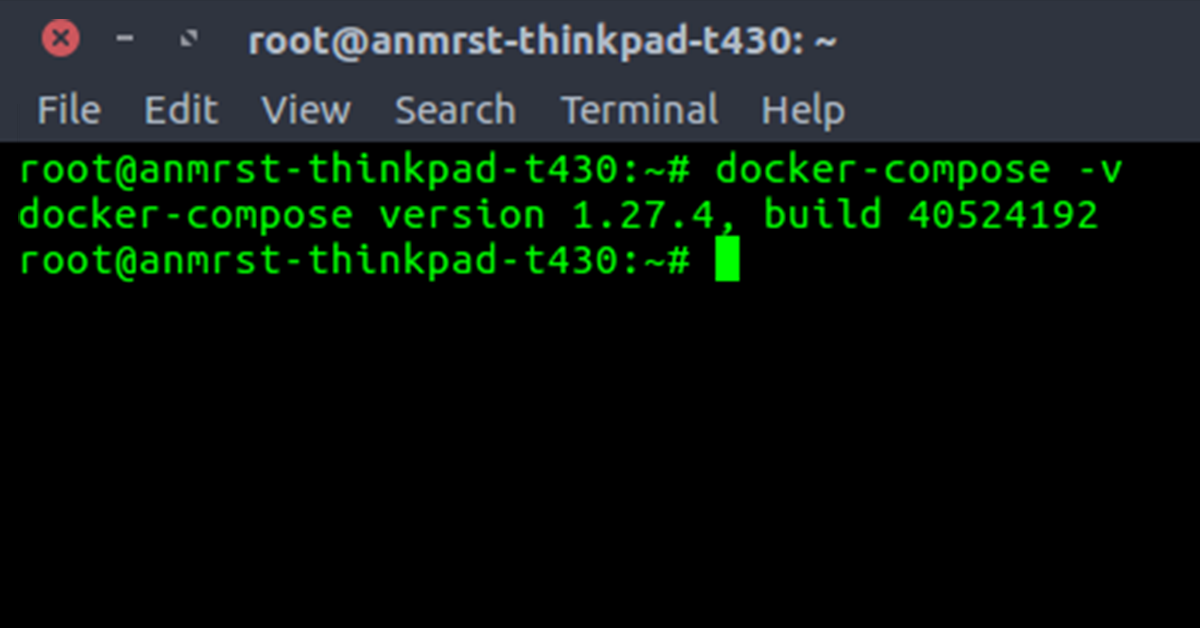
Use the command
Docker-compose version 1.25.5, build b02f1306.
Docker-compose is now installed in your ubuntu system successfully. You can start using it.
Integrating your Docker with Nginx :
You can use Nginx-proxy containers in order to integrate Nginx and Docker together. This can be done with a single Docker command or Docker compose. Here, I will mention both the commands.
Initially, you will need to build a Docker network to connect the other relevant containers together.
Use the command below for this,
$ docker network create nginx- proxy
While you do this, ensure that you always add a new container to the nginx-proxy docker network because each service needs a separate container for execution.
2.a To install nginx-proxy along with Docker,
Use the command:
$ docker run -d -p 80:80 -name nginx -proxy-v
/var/run/docker.sock:/tmp/docker.sock jwilder/nginx -proxy
2.b. To install nginx-proxy along with Docker compose
You will require to create a docker-compose.yml file in the saved directory.
To do so, follow this command.
version: “3.”
services :
Nginx-proxy:
image:jwilder/nginx-proxy
Container_name: nginx-proxy
Ports:
-”80:80.”
Volumes:
-/var/run/docker.sock:/tmp/docker.sock:ro
networks:
eefault:
external:
name: nginx-proxy
To start working with Docker compose
Use the command:
$docker-compose up -d
We are almost done here. Up to this step, a question arises, How does Nginx-proxy host multiple websites?
The docker container port enables the incoming traffic to flow out via Nginx. The line/var/run/docker.sock:/tmp/docker.sock offers container access to the Docker socket of the host that withholds the information about the multiple docker events.
Every time you build a container, Nginx-proxy will observe the event through the socket and automatically add file configuration to the route traffic and further restart Nginx to immediately implement the changes. Nginx -proxy looks for a variable enabled VIRTUAL_HOST, that is essential for the execution of operations.
Follow the command,
In Docker, the command -net nginx-proxy and the networks: default: external: name: nginx proxy limits the Docker- compose.yml file and enables you to establish a communication network with all other containers.
How to add containers to the proxy?
The container contains all executables, configuration files, binary code and libraries. It is the standard unit hold code package within which the execution of application depends. When you are working with nginx-proxy, this will help you add new containers that can be configured automatically.
Use Docker:
The primary step to configure and dockerize WordPress is very easy.
Use the command,
$ docker run -d -name blog -expose 80 -net nginx-proxy -e
VIRYTUAL_HOST = blog. DOMAIN.TLD. wordpress
To clarify this,
- The -expose 80 will allow the traffic to flow inside the container to port 80.
- The -net nginx-proxy ensures that you have used the Docker network created.
- The -e VIRTUAL_HOST=blog.DOMAIN. TLD exhibits that nginx-proxy established the proxy information and has directed the incoming traffic to the right domain.
Use Docker Compose
Create a docker compose.yml file in a blank directory.
For this use the command below,
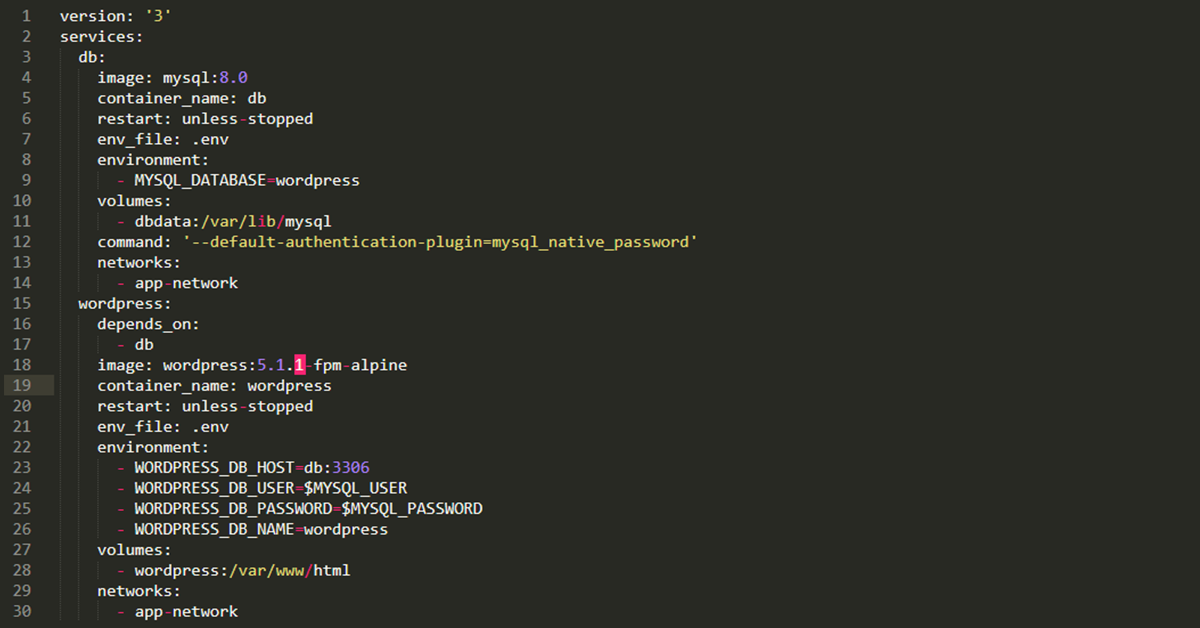
Do not forget to begin with db_node_domain to host multiple WordPress blogs and create specific names in the database for each one. You can then replace db_node_domain with preferred names.
For example: WORDPRESS_DB_HOST: db_node_domain: 3306
Once you get done with the configuration setup, run the docker-compose up-d command.
Then enter your server IP address, such as http://serverIP/ to check the dockerized wordpress.
We are finally done with dockerizing your WordPress with Nginx server now. This procedure may seem quite exhausting, but once you follow these steps, it is all going to work out smoothly for you. You can even hire WordPress experts to guide you through the technical aspect of the process. Things are going to function correctly as long as DNS is configured to route the traffic in the right direction. Now you can add unlimited extensible WordPress sites for any given service to the Nginx – proxy network.
Final Thoughts
WordPress is configured with Docker using a safe and secure Nginx system. The simple steps mentioned in this article will help you completely optimize your WordPress and maximize its performance. Further, to improve docker-compose files, you can build a customized database for each WordPress instance. You are good to go to any site binding to WordPress. Happy Dockering.