We know how the WordPress eLearning space is making headlines in every corner of the world. This is because of the dominating WordPress plugin LearnDash that has become the number one choice of every online business. We tried answering all the relevant questions concerning LearnDash (FAQ) for businesses in our previous article. Hence, it’s time to commence with the LearnDash installation process.
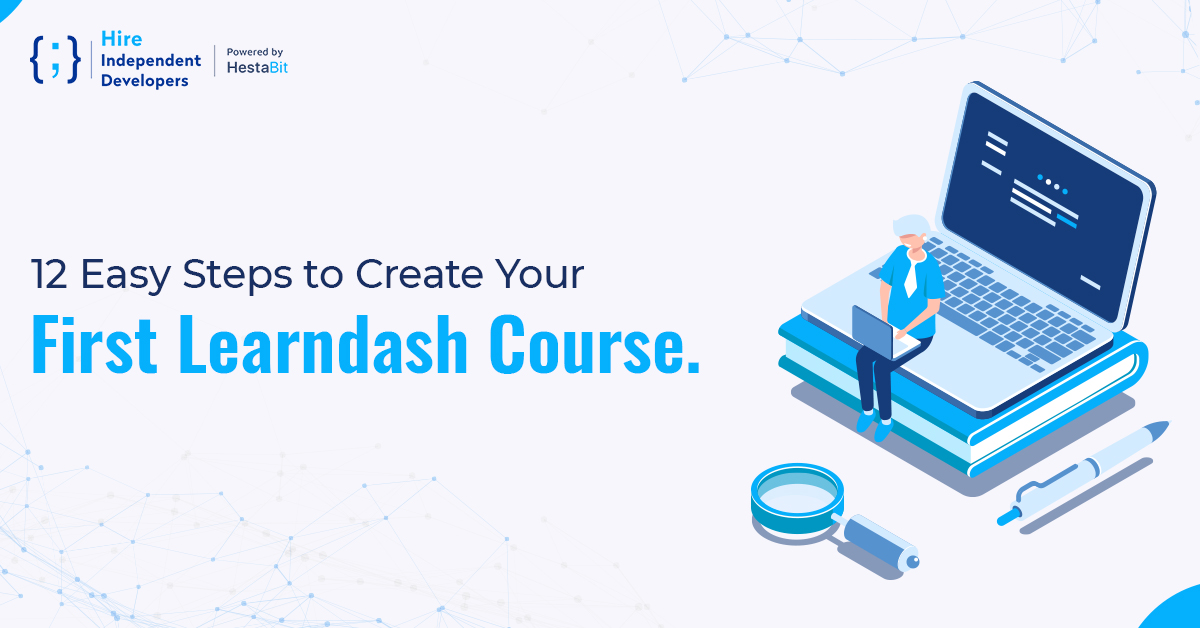
LearnDash is described as the key solution to major universities, training corporations, and all the eLearning enterprises that were looking to resonate with their platform. But as a WordPress plugin, LearnDash can sometimes be daunting to get started with. Likewise, the LeanDash setup process might get overwhelming to some product owners who are complete beginners, but worry not! This article will guide you through creating your first LearnDash course on WordPress through a step-by-step tutorial.
Before we begin, how about we throw a quick glance at some points that will give you a smoother run? A little extra knowledge never hurts, right?
- Since you are planning to monetize through your online courses, remember to focus on a conversion-friendly setup.
- This article includes LearnDash and a few complimentary plugins to create a better course experience for your users.
- To build an online course using LearnDash, you are required to purchase a license from Learndash.com.
- In the unlikely event If the plugin does not help you with the business, you can apply for a refund.
- Since LearnDash is not a stand-alone LMS tool, it has to be paired with a WordPress website. This website is going to be a “Home” to all your courses.
- Before you do anything else, ensure that your WordPress website is complete with hosting and is suitable for running LearnDash.
To Install WordPress on Good Hosting
You need to:
- Purchase web hosting
- Purchase a domain name
- Install WordPress software.
Further, purchase a LearnDash account from its official website and download the “LearnDash zip file” from the My Account page.
If you have checklists for all the above criteria, let’s get started with the exciting part, Building your First LearnDash online course!
Step 1- Install the LearnDash Plugin:
- Once you are absolutely ready with your WordPress website, access your WordPress dashboard at yoursite.com/wp-admin.
- Go to the “Plugins” option and click on “Add New.” You now have to upload the zip file from your LearnDash account.

Step 2- Install a Compatible Theme:
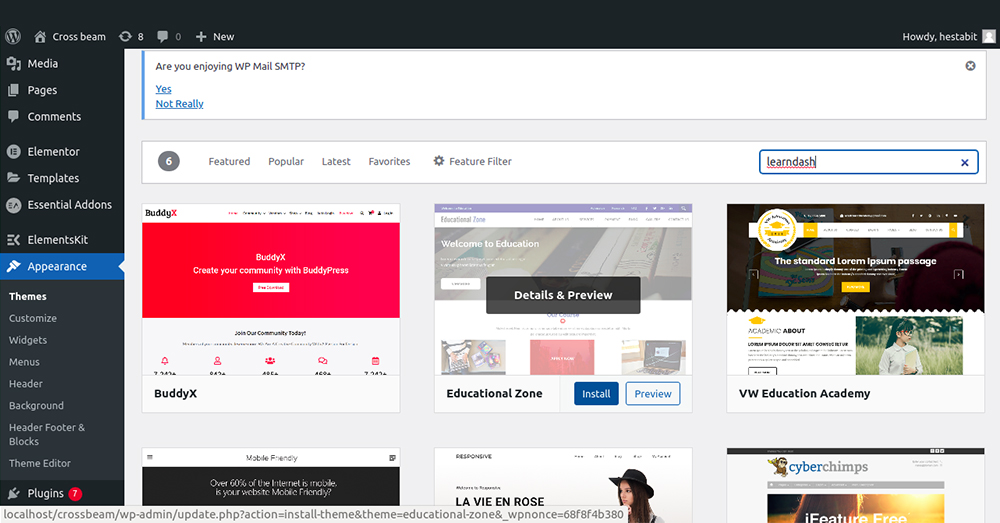
- Before we really dig into the technical part, you might want to install a LearnDash compatible WordPress Theme to make your online courses look interactive, right from day one.
- The theme you choose will control the overall appearance of your online course and other elements of the site like the footer and navigation menu.
- Make sure you select a theme that has a dedicated integration with the platform along with a customizable background.
- You can switch your course layouts and improve your lessons whenever you want with a customizable theme.
- Once you find a compatible theme for your website, go to “Appearance” then “Themes” and upload the desirable theme to the “Add Theme” option.
Step 3 – Configure basic Theme Settings
There are two different ways to control your site’s presence.
- First, If you want a quick way to get running, you can import a ready-made site design. To do so, you can install any Template plugin like the “Starter Templates plugin” and select templates and designs.
- Second, You can also design your site from scratch. The good news is that the “WordPress customizer” allows you to manage and supervise all the theme settings.
- All you have to do is, go to “Appearance” → “Customize,” and launch the WordPress customizer.
- This will let you modify the sidebar, menu, and other taskbars. On top of that, you can instantly preview the changes on your site’s Live Preview.
Feel free to explore all options; however, do not forget to pay complete attention to,
- Header
- Footer
- Color gradients
- Typography
- Other essential elements
Step 4- Create the LearnDash Course
- Now that you are all set to create the course go to LearnDash LMS → Courses. Then, Click on “Add your first course.”
- A task box appears where you have to give your course a name and a description.
- Further, scroll to the Builder tab to set up your content like quizzes, videos, lessons, sections, tutorials, blogs, etc.
- Once you are done with this, hover over the individual lesson option, configure your lessons serial wise and keep adding media to make it informative.
- To explore more, you can also go to the “Settings” tab and see what can be customized and changed. Meanwhile, in the same tab, you might want to Close the “Access tab” for now. We are later going to use the Access tab to add payment gateways.
Step 5- Install elementor and Design Core Pages
- Since you have already finished building your course, it’s time to step away from LearnDash for a while and create other essential pages such as About, Homepage, and Contact page for your LMS site.
- For this, consider using the Elementor plugin (FREE) that comes with a drag and drop interface. This can be done using the same standard method, Plugin→Add New. Then search for Elementor. After the plugin is launched, select “Edit with Elementor” for further configurations.
- Elementor is pretty intuitive and simple; however, if you find any challenges with it, you can check out this tutorial video:
- You will quickly get the hang of the plugin through this video. Here, you can design all the core generic pages of your site.
- Again, there should be –
- Homepage design
- Contact Page Design
- About Page Design
And you can also add other pages related to your content there. For course and checkout pages, we will use other plugins.
Step 6- Create a Course Page with CourseGrid Plugin (For Multiple Courses)
- If you are trying to monetize a single course, you probably do not need this plugin. However, If you are offering multiple courses, you need a way to display all your courses so that the users know their options.
- For this, You can use LearnDash Course Grid (FREE) add-on. Install it by clicking on LearnDash LMS in the side menu and then “Add-ons.”
- Once you deploy it, you will be able to display all your offerings in one place.
Step 7- Create Registration and Login Page
- Now, if your course is front-facing, you probably do not want to add the default WordPress login pages.
- Create a custom registration/log-in page for your LearnDash course to add a user-friendly and interactive login for your users.
- You can use two approaches here,
- Utilize LearnDash’s Login feature
- Use a free plugin like “Theme My Login.”
- You already know the standard process for installing plugins. If you choose LearnDash’s login/registration feature, it will automatically add the login page to all your courses.
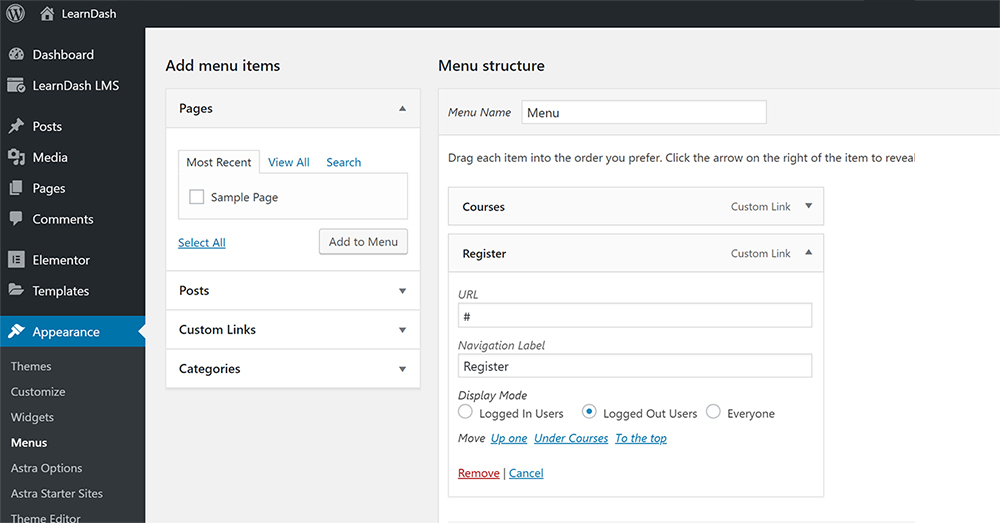
Step 8- Create custom navigation bars for users
- Your WordPress site exhibits only one navigation menu by default to all its visitors. Since you are integrating your WP site with LearnDash, you might need a custom navigation menu so that your audience can access the important part of the lessons easily.
- For this functionality, Install the “Free Nav Menu Roles” plugin through the standard process.
- Once you activate it, scroll to the “Appearance” → “Menu” area. Further, when you go through various menu links, you will be able to select and customize the navigation menu using the “Display Mode” option.
- If You wish to target anonymous visitors, use the “LoggedOut users” option, and If you want to target our students/users, use the “LoggedIn users” option.
Step 9- Set up WooCommerce For Payments

- LearnDash does not come with a built-in support option for Payments. But you always have LearnDash’s WooCommerce at your service for flexible payment integration.
- One notable benefit of WooCommerce is that it lets you generate conversion-optimized checkout pages.
- Now, The first step is to install and configure the WooCommerce plugin from WordPress.org. Once you activate the plugin, a setup wizard box appears.
- Go through the box, enter all your essential details, including the payment methods.
- In addition to this, scroll to WooCommerce settings→Accounts & Privacy and :
- Disable the option to let people order without an account.
- Enable the account sign-up during checkout.
- Enable the option to sign in during the checkout.
- Now, to integrate your WooCommerce with LearnDash, you need the “LearnDash WooCommerce Integration” add-on. Use the standard process LearnDash LMS→Add-ons, and connect the two.
- Once the plugin is integrated with LearnDash, create a product to sell your courses.
- You will find the “Products” option in your WordPress dashboard, select that, and further go to “Add New.” Use the “Product data” menu to describe your product (Course) to WooCommerce.
- You can also roll with “Related courses” if you are offering multiple courses. Ensure to keep all the courses in the loop.
Step 10- Integrate LearnDash account with WooCommerce
- To display both LearnDash user profile and WooCommerce’s purchase history on one page, create an additional page, just like we did for the HomePage and Contact page.
- Combine the LearnDash ID_profileshortcode with WooCommerce_my_account shortcode. Refer to the image below for the desired result.
Step 11- Create a Checkout Page
- Remember how we mentioned that WooCommerce lets you create conversion-friendly checkout pages? All your hard work is going to pay off here.
- For building check-out pages, use the CartFlow plugin (FREE and PREMIUM). Then, install it using the standard steps.
- Even with the Free version, you get the options to include discount offers, special deals, and upsells. Go to the “CartFlows” option in your WordPress dashboard.
- A setup wizard prompt appears again, fill in all the necessary details and select “Elementor” for designing pages. Then, edit your content, set designs, and publish the page.
- For a detailed tutorial on CartFlow, check out the video and discover various hacks.
- Once you publish the page, a link is generated for your check-out page. Stick the link anywhere on your site. You can also create a different checkout page for every course.
Step 12 Install must-have WordPress plugins for efficient functionalities.
You are almost done with setting up your LearnDash course. But before we call it a day, make sure you have these WordPress plugins by your side for compelling eLearning features.
- Yoast SEO– Helps your site to rank on the search engine.
- HubSpot– Add marketing features like email marketing, Analytics, and Live chat.
- Updraftplus– To secure your user’s data through backup.
- Wordfence– Secure your site from data breaches and malicious attacks.
Keep Improving and Keep Iterating!
Henceforth, this wraps up our LearnDash tutorial on creating your very own course from scratch. But your job doesn’t end here. Make sure that you keep adding minor tweaks and new features to your site from time to time. Keep creating new courses for your users, and whatever you do, do not forget to enjoy the process. For any further technical insights on LearnDash, you can always hire a WordPress developer to have your back.